Yamaha CVP-87A Repair. The full saga.
Epilogue: Yamaha CVP-87A Resurrection: A 5-Year war of a very stubborn broken board against a much more stubborn owner.
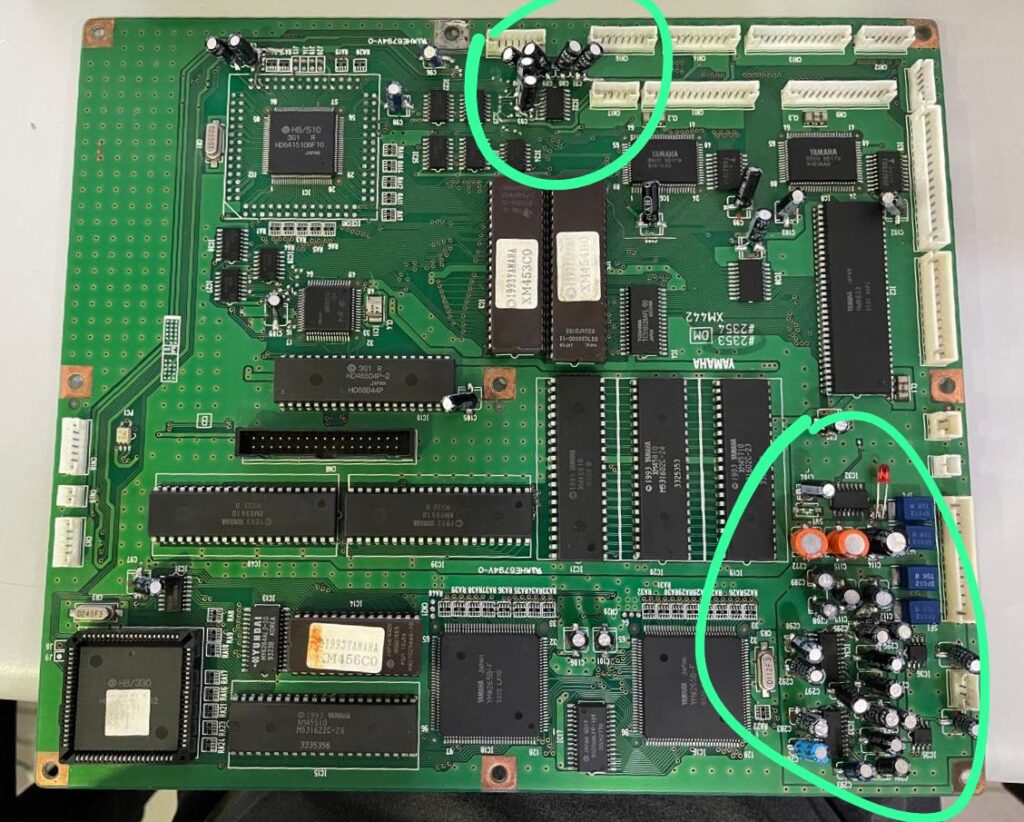
Back in 2020, a broken Yamaha CVP-87A Clavinova landed on my bench. Beautiful instrument, but completely dead — no lights, no sound, nothing. I’m not going to tell the full history of this piano so I won’t bore you to death, but what followed was one of the most interesting repair adventures I’ve had in years.
The First Chapter: Broken Traces and the RECAP
This piano has been in our family for a long time. Once, it died back in the 2000s. But the fix was relatively easy — I replaced all the capacitors. They had leaked all over the board and made a real mess. I thought I had done a good job, but after 2 decades, the piano stopped again. Not that easy this time. All that remaining electrolytic fluid had done its nasty job and the PCB was a mess. It even had broken traces. After mapping the damage and patching the traces, the board still showed no sign of life. Something deeper was wrong.
The first recap I used TTH capacitors.

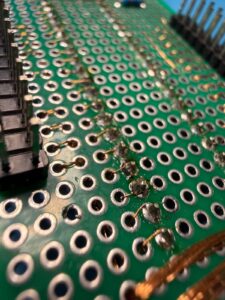
The leaked fluid damaged the trails

Some fixes I had to make like this one
Then I recapped again — with SMD capacitors this time. I also ordered a new main CPU. This thing runs on a Hitachi H8/510 processor — a late 80s/early 90s 16-bit microcontroller that was super popular in musical instruments of that era. Not exactly a chip with tons of modern documentation, but I replaced it hoping I had found the culprit. No success.
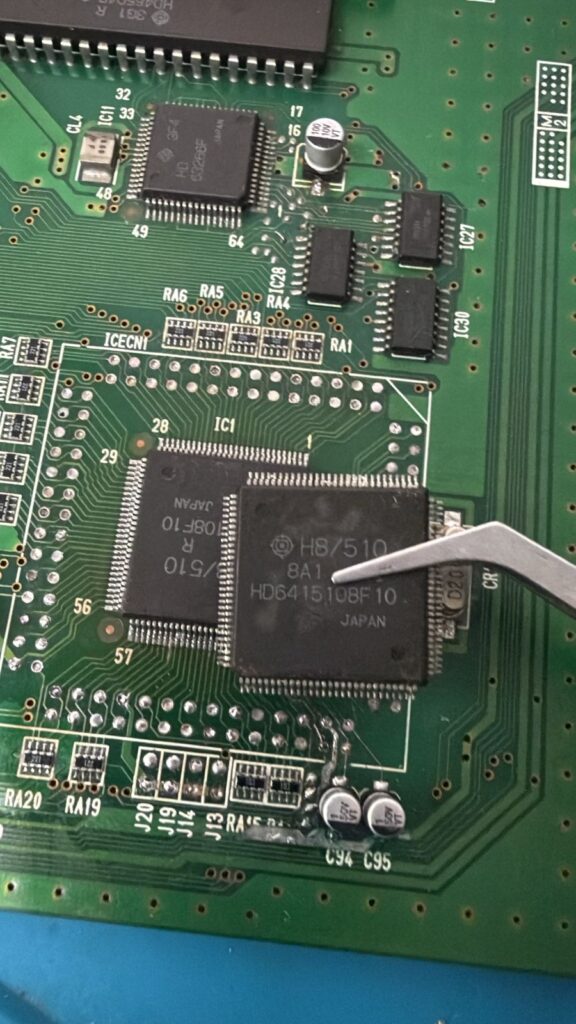
Replaced the MCU with a new one
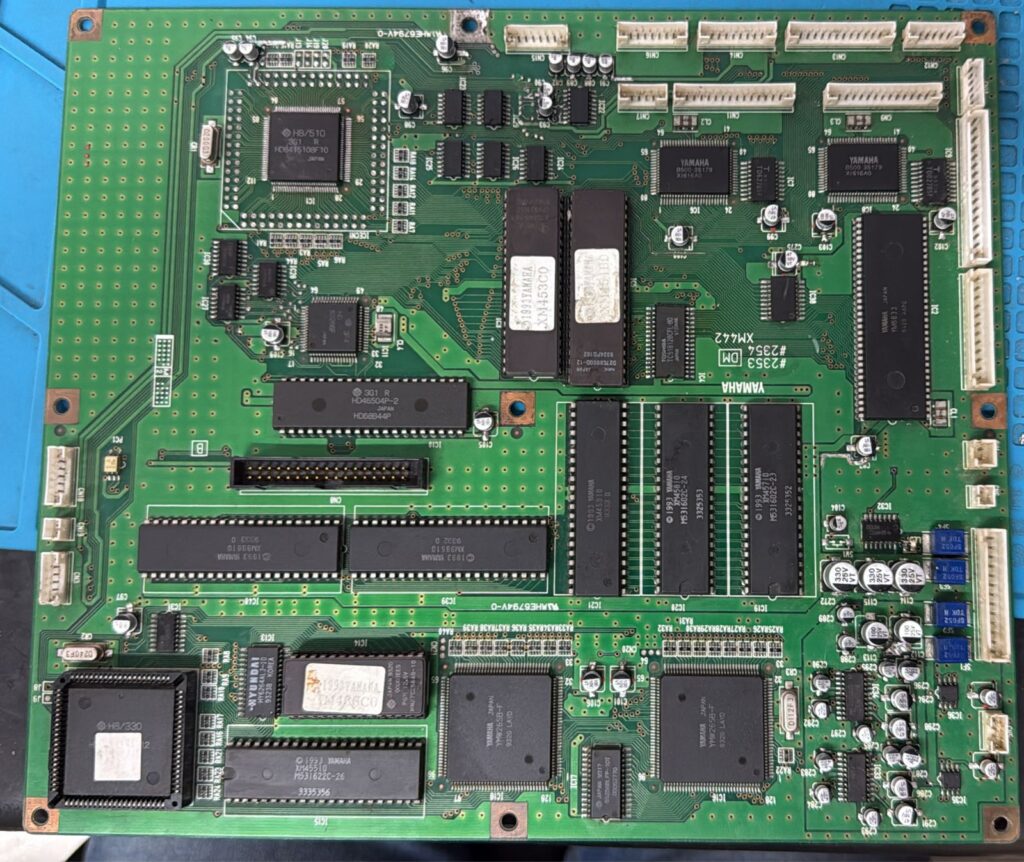
After a recap with SMD capacitors.
Chapter 2 – Going Deep: Firmware Dump and IDA Pro
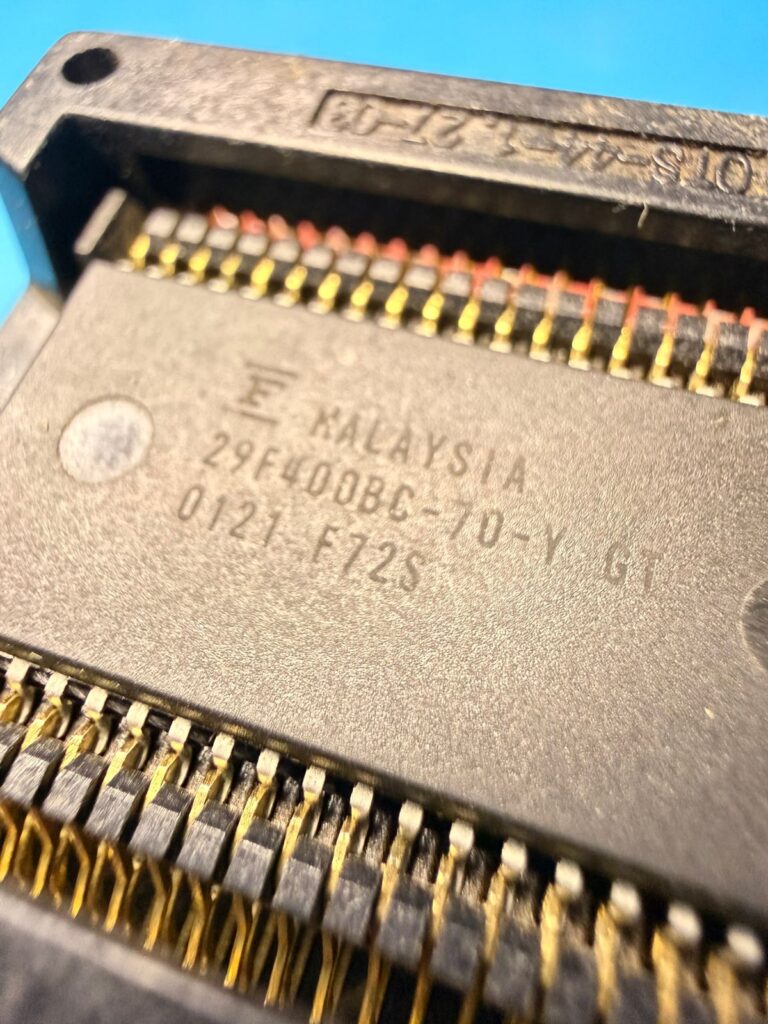
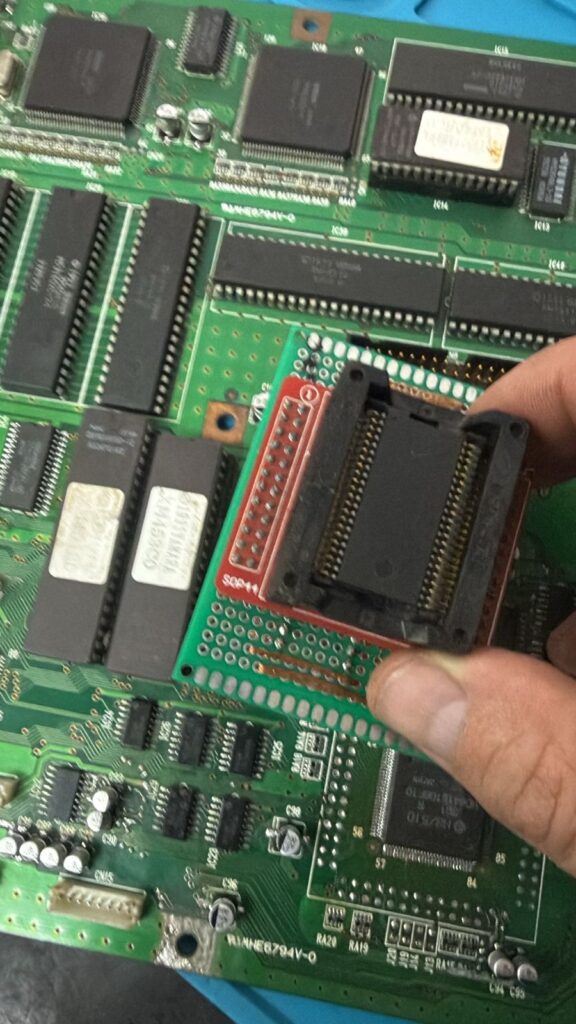
Even with the help of the service manual and full schematics, I couldn’t find anything wrong. Then one day I caught misreadings on the oscilloscope from the D ports of the EPROM. I made an adapter to run the firmware using a flash memory (29F400BB) instead of the original EPROM, an old 27C240, to test against bad silicon or whatever. It didn’t work, but it gave me a chance to write a small program to test some ports that I knew should toggle during boot. I burned it on the flash and got confirmation that the hardware was OK — the ports were going high exactly as expected. So I started to wonder if the problem lay in the firmware itself.
Adapting the FLASH memory pinout to the old EPROM pinout
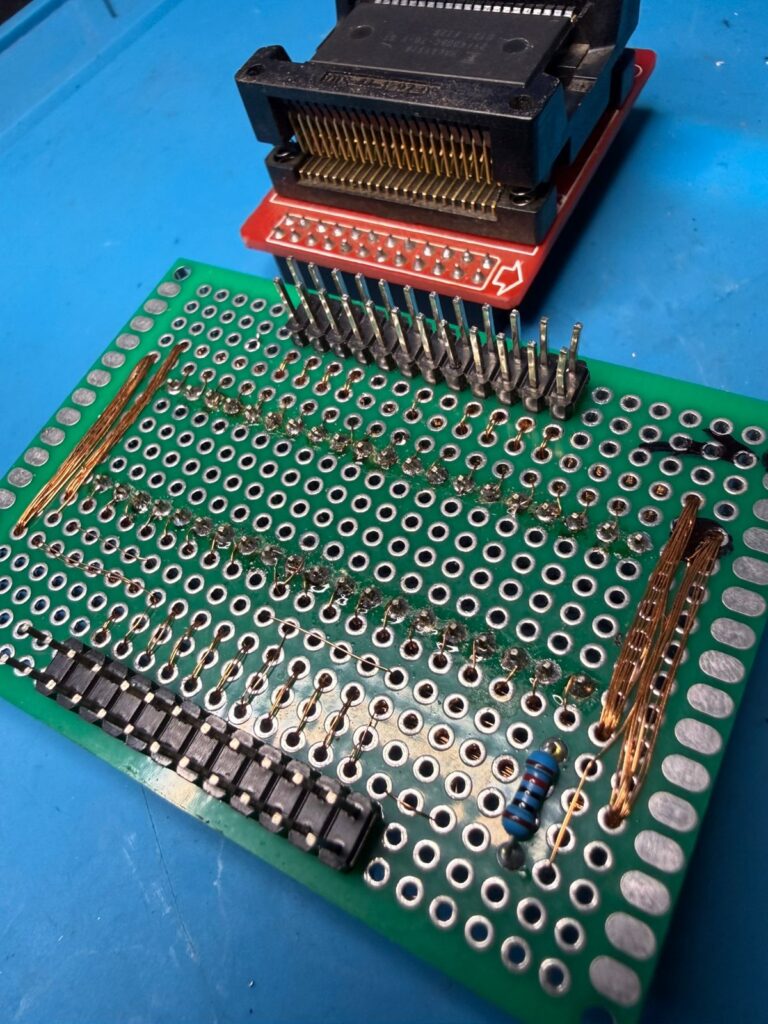
Wiring the shit out
The flash memory, worked like a charm!
This helped a lot!!
I even installed some debug leds on strategical places to show me if the processor is sending the wake-up signals to the rest of the board!
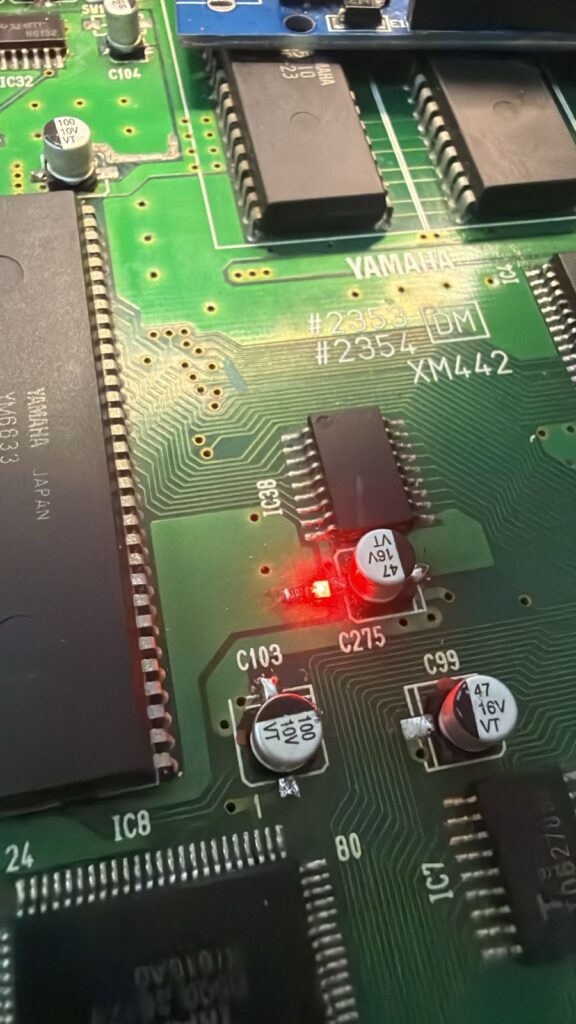
The KSNIC port debug LED.
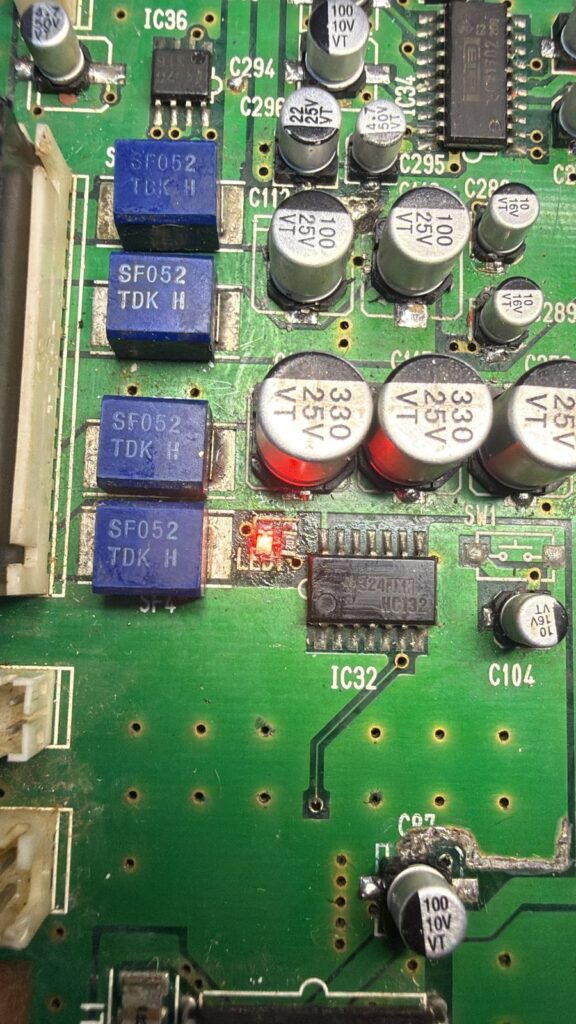
The 8V detector debug LED
Then I began a wide search all over the Internet to find someone who owned the same piano and would be willing to dump their ROMs for me. I spent years. Literally. I was really stuck. Then one day I thought of a new approach and started analyzing the firmware directly. I loaded the full binary dump into IDA Pro and started mapping the H8/500 assembly. At first, I thought I was really dumb, because I simply couldn’t make sense of anything the disassembler was showing me. Nothing was making sense. After a few months of trying to understand the code, I noticed that the binary in hex was byte-swapped. A very common mistake, I know — but it cost me a lot of time..
Good news started to appear after I fixed the dump. The boot sequence analysis revealed that the main loop was stuck waiting for a value at memory address 0x102 that never arrived. The code would only proceed if an interrupt or some hardware event wrote to that address — and nothing was happening.
Tracing further back, I found that the boot code checked for a magic number — 0x55 0xAA — at address 0xC000 in external PSRAM. If that value wasn’t there, the system would silently stall. No error, no blinking LED, just… nothing. And reading 0xC000? It returned 0xFF. Blank. The SRAM had never been written — or had lost its contents. Then I remembered the videos from Adrian Black, the youtuber who has a chanel called Adrian’s Digital Basement. He always has problems with these old PSRAM. Every time! So, I thought: Oh-My-Godness! Can be it?
Chapter 14 – The Smoking Gun: Dead SRAM
The external SRAM is a TC518128AFL-80 — a 128Kx8 static RAM in an SOP-32 package. I confirmed through a complete search of the firmware binary that no routine ever writes the 0x55/0xAA signature. This is a factory-set value, a “magic number” that confirms the RAM is initialized and valid. A classic embedded systems pattern from that era.
So I pulled the chip and tested it on my BeeProg. Dead. Then I tested again on my TL866II. Dead. Well, I started feel happy but at the same time, I was not really relieved. I wondered — did I really find it this time?? Nah, must be just one more of many many other things… But let’s change it, of course!! If I find it to purchase….
Chapter 67 – The Hunt for a Replacement
Finding a TC518128 in 2026 is not exactly trivial. After some searching, the modern equivalent is the AS6C1008-55SIN by Alliance Memory — same 128Kx8, same SOP-32 footprint, still available new. But the shipment prices are insane. I looked at aliexpress, I found several with different sizes. Until I found a seller on Mercado Livre and he answered me saying that a friend of him might have one piece. He confirmed, I made the purchase, replaced the chip, cleaned everything up.
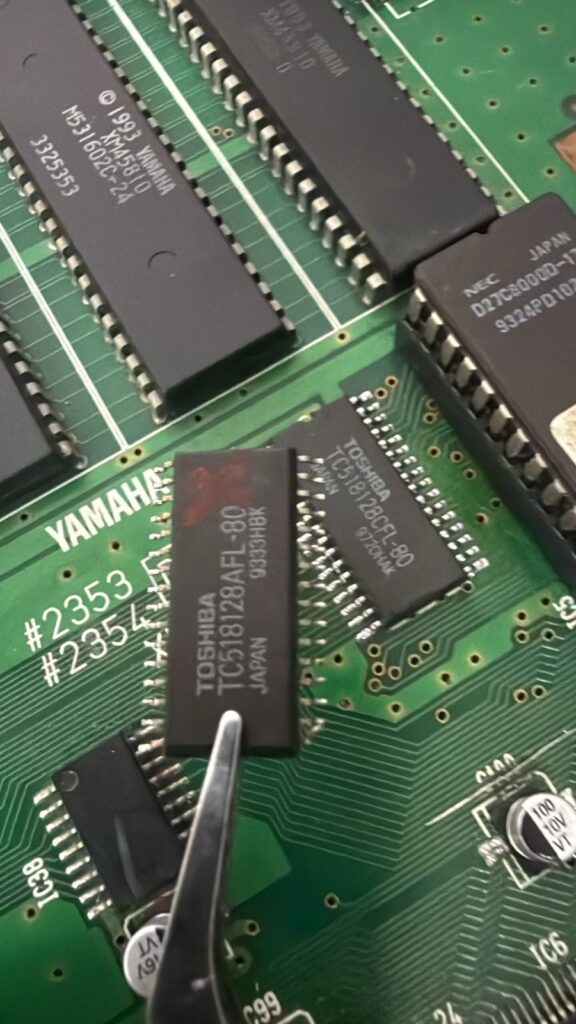
The old busted memory and the new one
So I strapped in the power source, crossed my fingers, turned it on and… It booted!! After 5 years, the CVP-87A finally showed signs of life again.
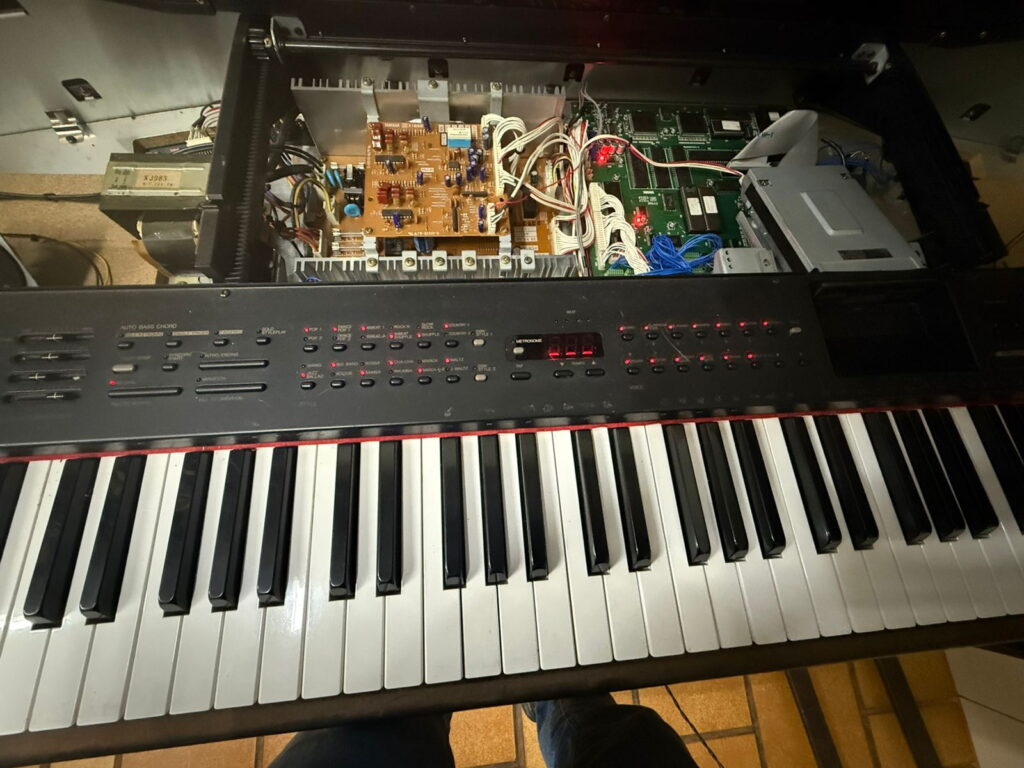
Yes, it worked! In part at least!
But as they say — poor people’s joy never lasts!! LOL! The piano LED panel started beautifully… but with no sound. How disappointing.
Chapter 689 – Now, instead having a broken piano getting dust, I have a perfectly working piano getting dust!!
I couldn’t believe. No sound at all. But, as stubborn as I am, I move my oscilloscope and tools from my lab to my house, make some measurements and… believe it or not, it was easy!! I quickly figured out what’s wrong: The IC12, or the secondary CPU (H8-330) wasn’t properly sending signals thorough the SUB-RD (pin 17). Oxidation, maybe?
I pulled out the processor from the socket, made some cleaning, re-seated it that’s it! My Clavinova CVP-87A was back to life! I was so happy!!
And that was the end of the CVP saga. Now the question is: What’s next?
Hope you’ve enjoyed. If you have any questions, ask on the comments section below.
What I Learned
- Firmware reverse engineering with IDA Pro is incredibly powerful even for obscure 30-year-old architectures. The H8/500 instruction set is well-documented enough to make analysis feasible.
- Old embedded systems often use magic numbers in SRAM as a “first boot” sanity check. If the RAM dies, the system just stalls with no obvious error.
- The
0x55/0xAApattern is universal. You’ll find it in everything from BIOS POST routines to embedded controllers. It’s cheap, effective RAM validation.
Tools Used
- BeeProg universal programmer
- IDA Pro (H8/500 processor module)
- Oscilloscope
- ESP32 DIY Logic analyzer
- Hot air rework station
- A lot of patience
Filed under: DIY,Electronics,Hints - @ 2026-05-12 17:34